Several ask about how I do pictures so here is a step by step guide to the latest one I've done of Fieldy's (Mark Fields) lovely Old Skool Escort.
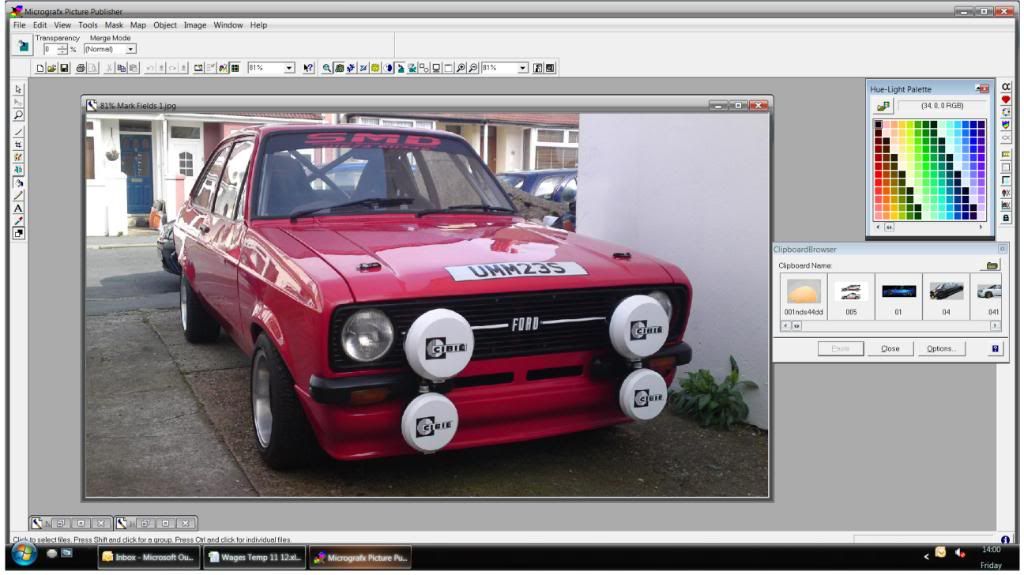
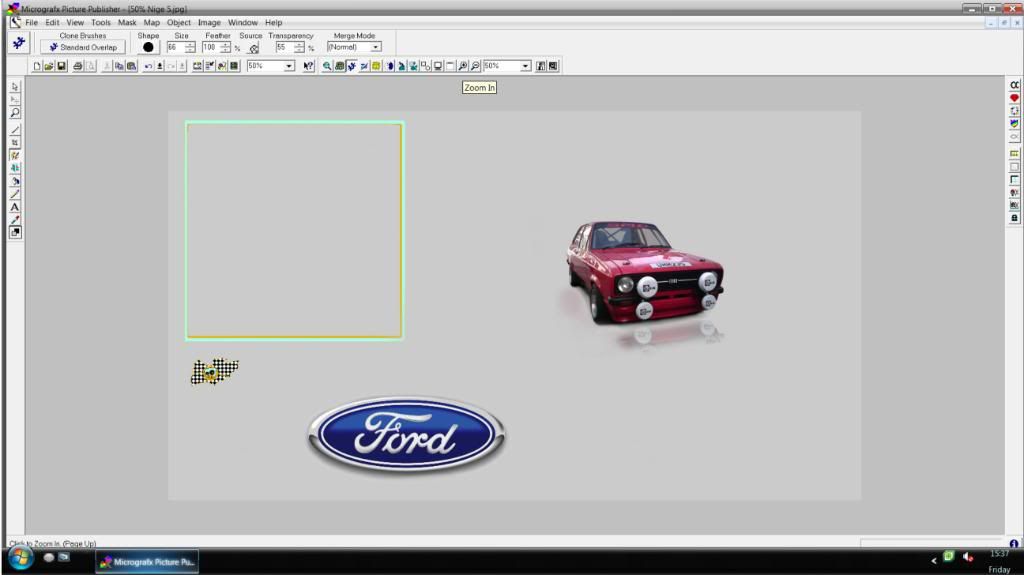
This is how I received the picture from Mark
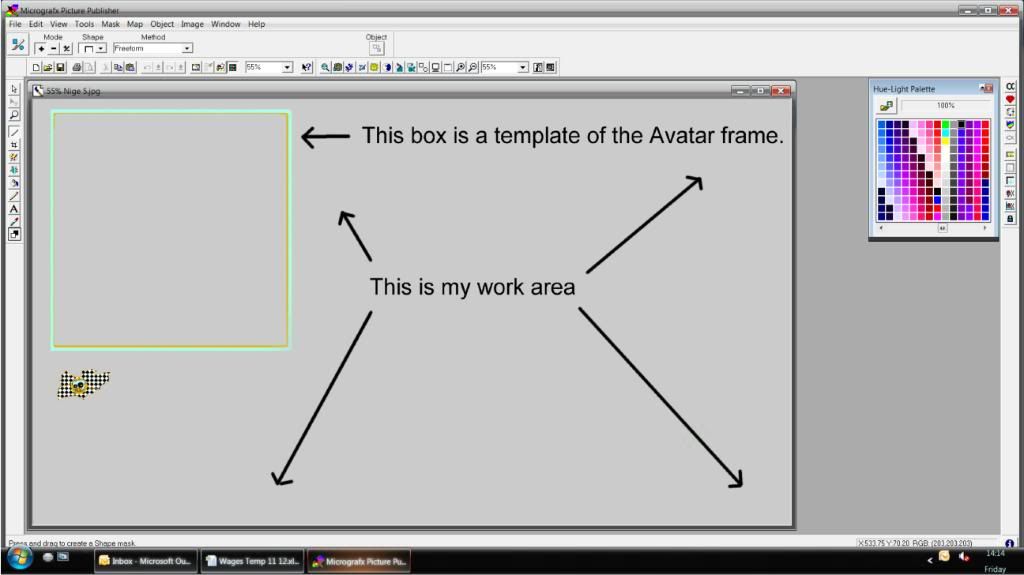
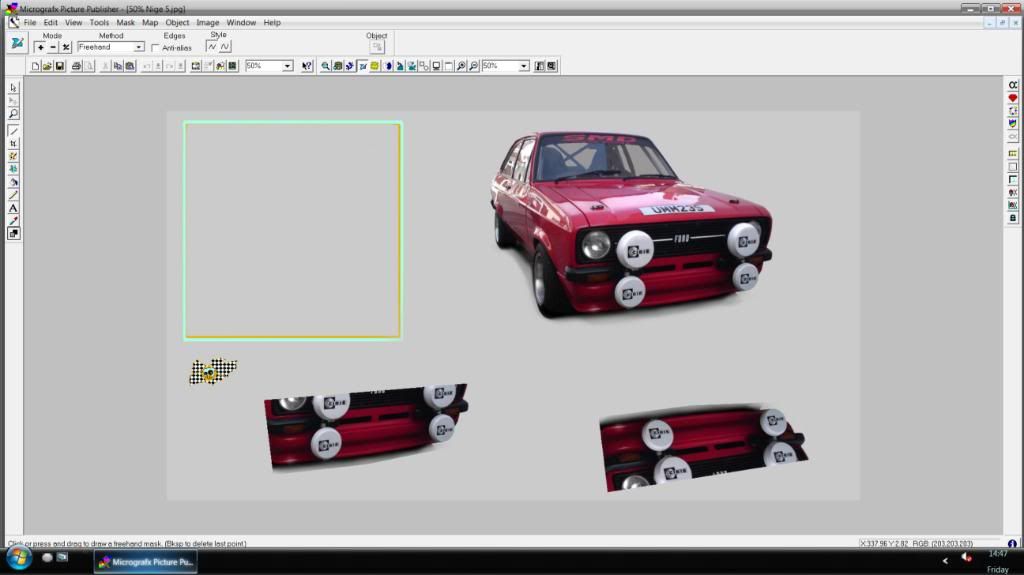
This is the works area where I do the work. The frame in the top left corner is the frame size of all the Avatar pics I have done, so I can relate to the actual finished size.
The first thing I need to do is cut out the car from the original photo then paste in into the works area.
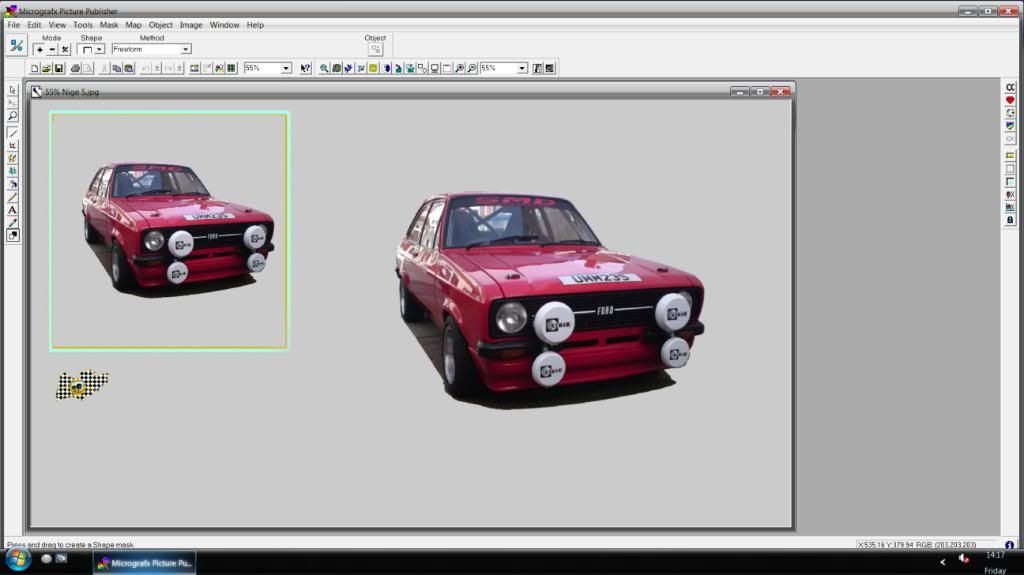
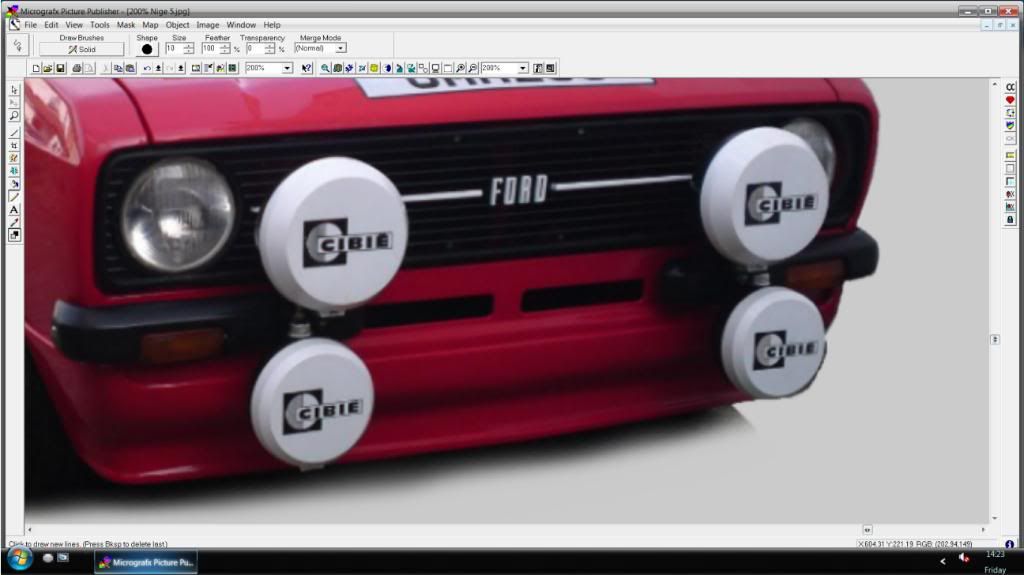
I then need to zoom in and carefully trim all edges of the car. You can see I still have the right lower headlight cover to trim around the edge.
I have already trimmed the rest of the car,
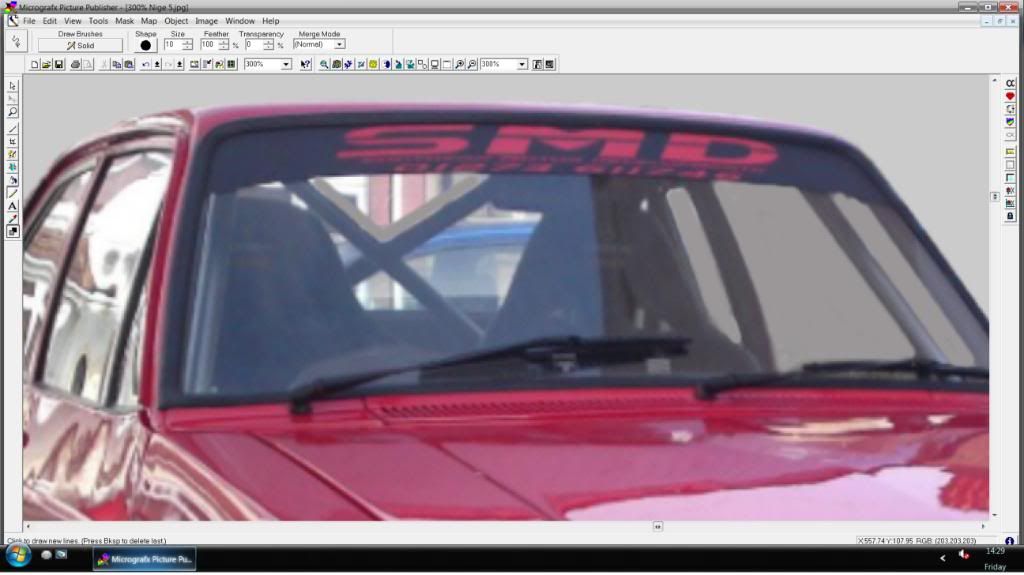
I then need to sort out the background seen through the side & rear windows. Care has to be taken to leave the roll cage and all other internal car parts untouched. I cant use 100% colour as it would be too rich so I need to fade these areas around 50% to give the appearance of being behind the glass.
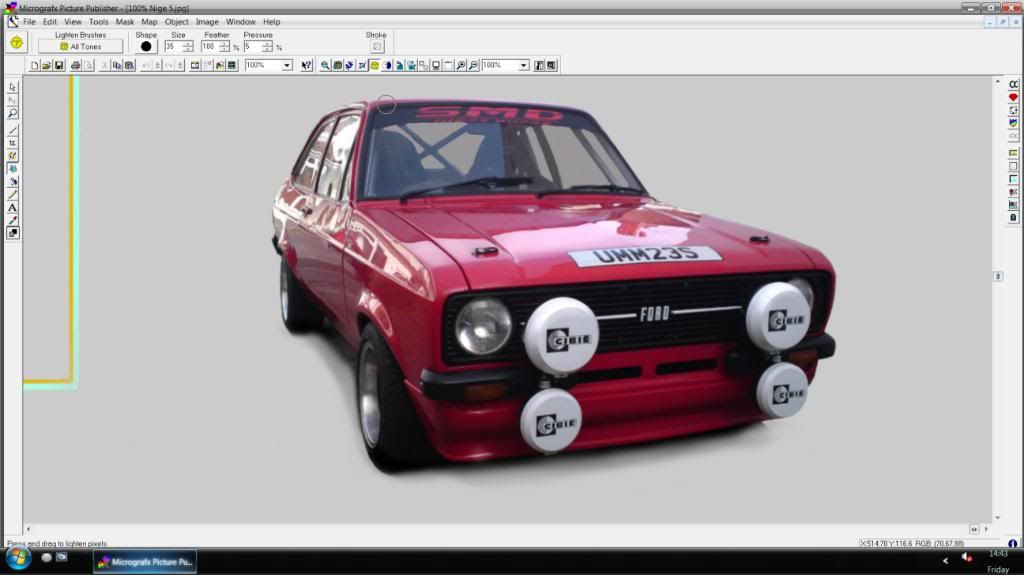
Once the window are sorted I sort out the shading under the car.
I also slightly darken the whole car by 10% - 15% and then apply light to the relections across the top of the bonnet, wheels arch, wheel, down the side of the car and the front light covers.
The car is now basically ready.
To achieve reflections on the ground I cut out the areas that will be reflected. These cut outs are then turned upside down and lined up at the correct angles.
I then clone the reflection at 80% - 92% transparent, then fade into the floor areas.
With the reflections done I source a Ford badge from the Net, resize and colour correct it. It's then cloned into the background fading to the right.
I then work out how I want the picture to look when finished and start cloning the Ford Badge into position. I am often cropping the picture and putting it into the square frame to make sure all will fit.
I also now need to work out light source, and where reflections will be on and around the car.
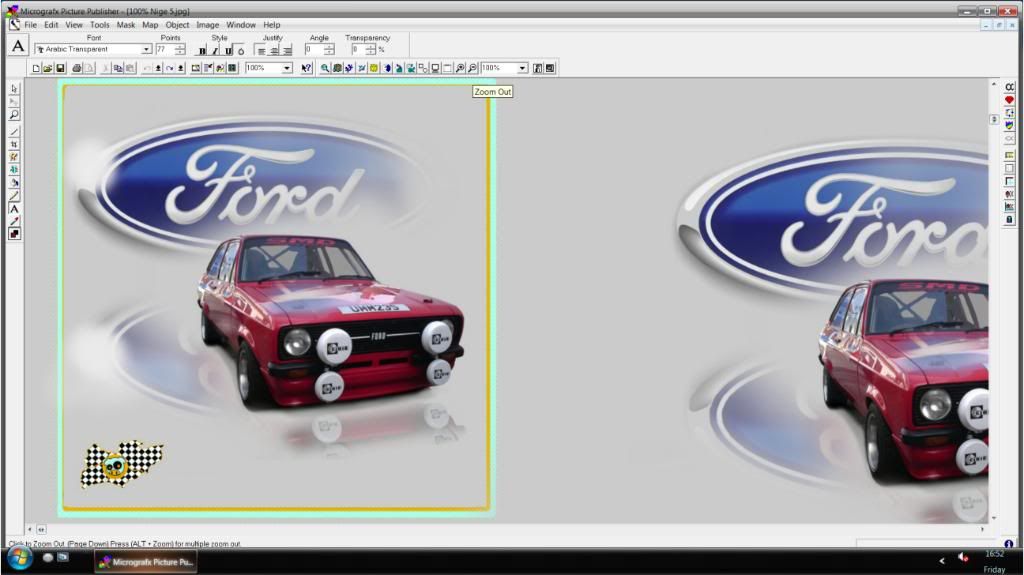
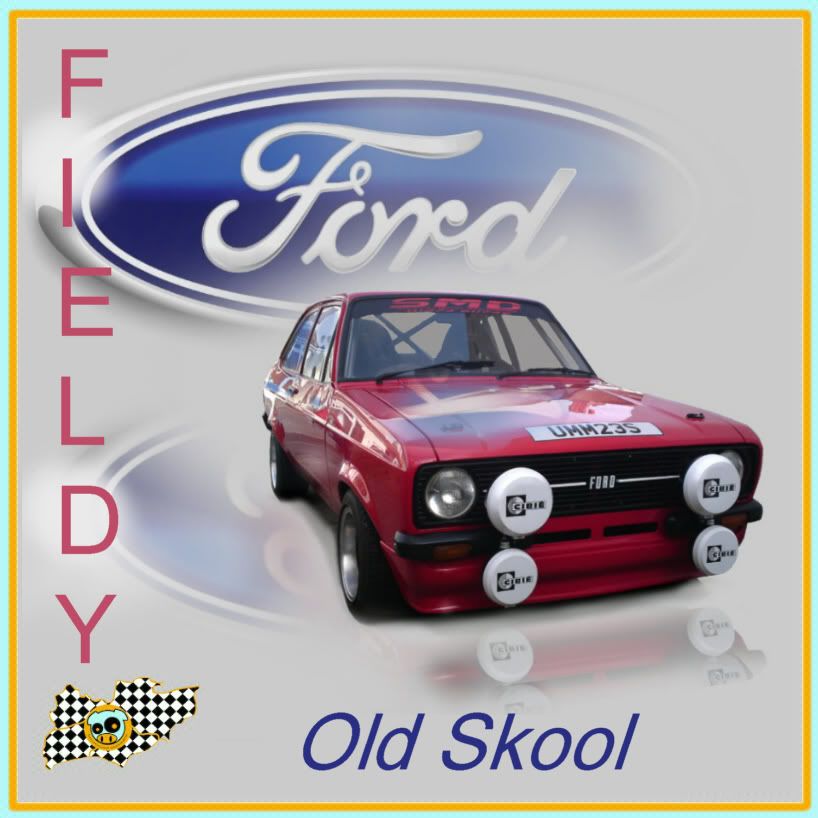
Once nearly done I tart the picture up a bit with shading & reflections then apply the text.
Job Done