Here's all you need to know.......
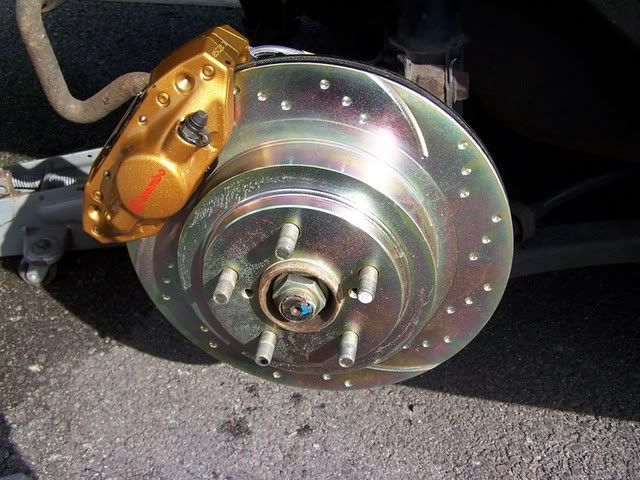
FRONTS :
Dead easy, bolt straight up using the STi 326mm disk, and Brembo Caliper bolts (Subaru 2-pot & 4-pot bolts are the wrong thread)
Brembo Caliper thread is M12 x 1.5 (standard M12 is M12 x 1.75, Subaru caliper is M12 x 1.25).
Bolts are £4.50 each from Subaru, or alot cheaper here
NAMRICK :
REARS :
Regarding fitting of Brembo's on the rear without having to change the Hubs and driveshafts.
I've knocked up the following 2 drawings for a Bracket.
These can be made out of 1/2 inch Alluminium and will only need a few washers/spacers in order to bolt to the hub and align with the disk.
SOLUTION 1 : Using STi 01> 316mm Disk

This solution would require you to modify the 190mm drum of the STi disk by sleeving and reducing to 170mm. Or buy oversized 190mm brake shoes from
http://www.godpseed.co.uk (approx £200)
SOLUTION 2 : Using WRX 01> 290mm Disk
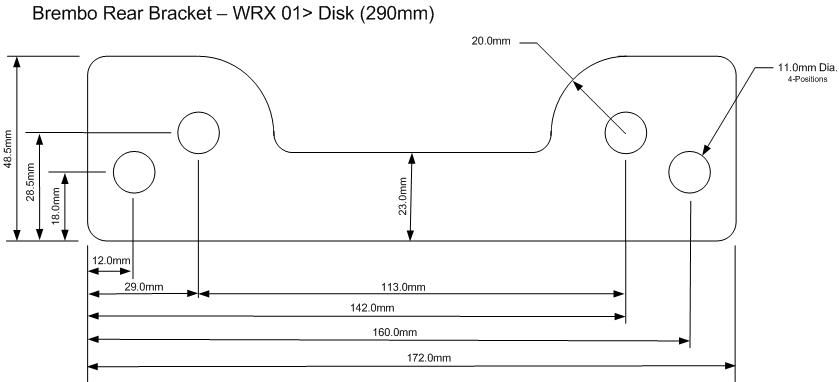
This solution would require 'NO' drum modification. Although you do not get the full 316mm size of the STi disk, 290mm is still a fair bit bigger then the 266mm disk used on the Classic as standard.
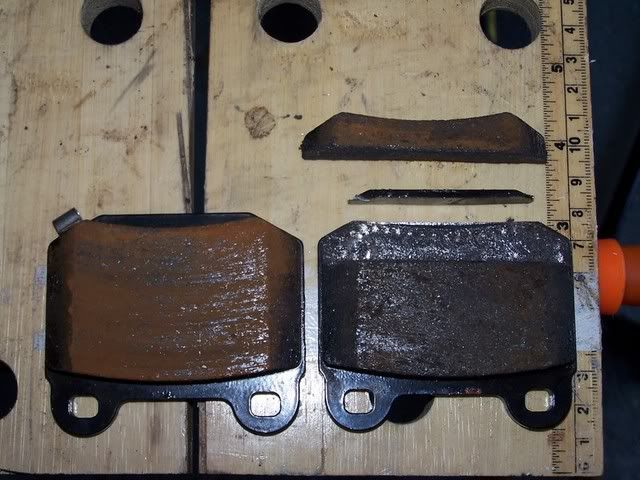
The Brembo pads are slightly too deep, so had to remove approx 9mm of pad material on inner and outer pads, and about 3mm of backing plate on the inner pad.
If this 3mm of backing plate is not removed it will foul on the 170mm drum backing plate.
In this shot the old caliper is still attached, out of view.
And the new caliper is only held on with 1 bolt.
I did try WRX 2-Pot pads and they will work with a little adjustment to elongate the sliding pin holes. The WRX pad material sits a little lower, but only by about 1 - 1.5mm. The only down side with these pads is that the anti rattle spring clip cannot be re-fitted.
Some of the Kit :
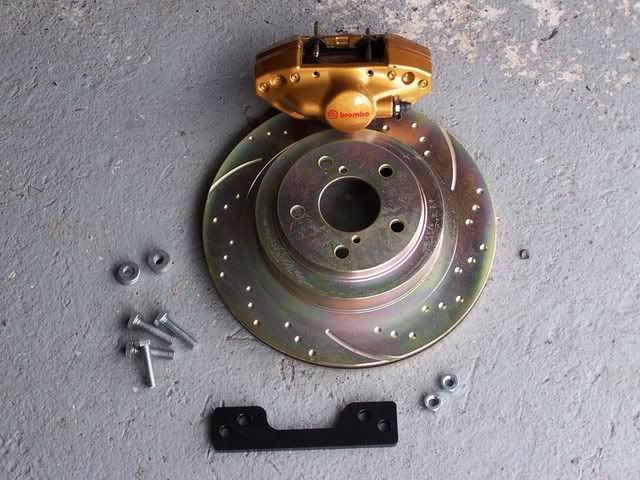
Initially the Caliper & Bracket are positioned/spaced using a pile of washers. But these were replaced with machined ally spacers at a later date, one I had the dimensions.
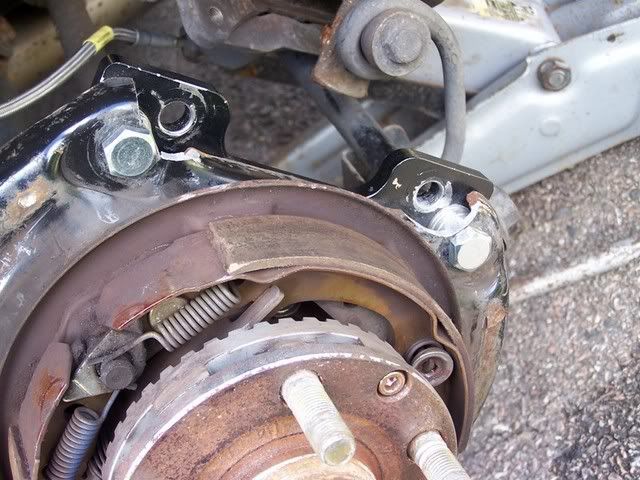
This is the nearside bracket fitted and shows the mounting plate where I have had to remove material.
This was done using a standard hacksaw (not a junior hacksaw, unless you want to be there all day) cutting out a series of sections and then grinding to tidy the finish, with a selection of drill grinding bits (the set I bought to port my headers

).
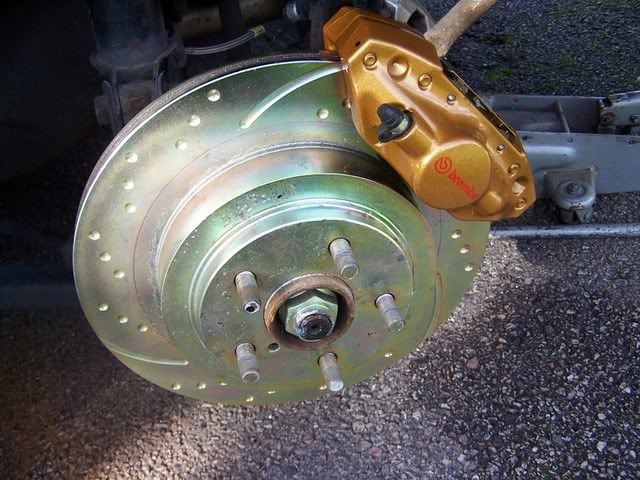
Nearside Disk & Caliper fitted :
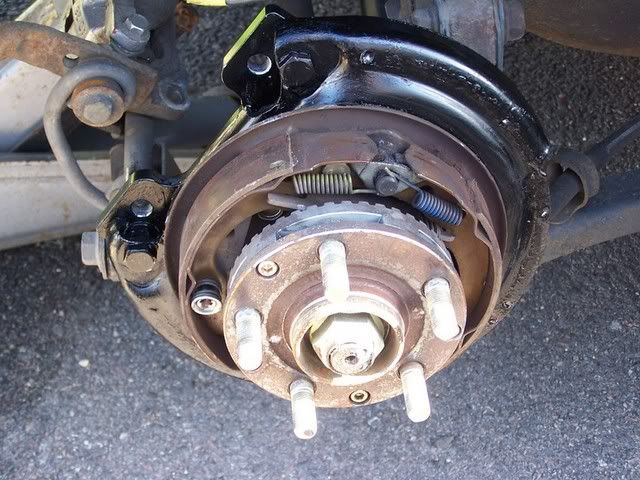
Offiside Bracket fitted, mounting plate re-profiled and painted.
Note : Disk guard also removed to allow 290mm disk to replace standard 266mm disk, this was quite easy to remove, just requiring the spot welds to be drilled out
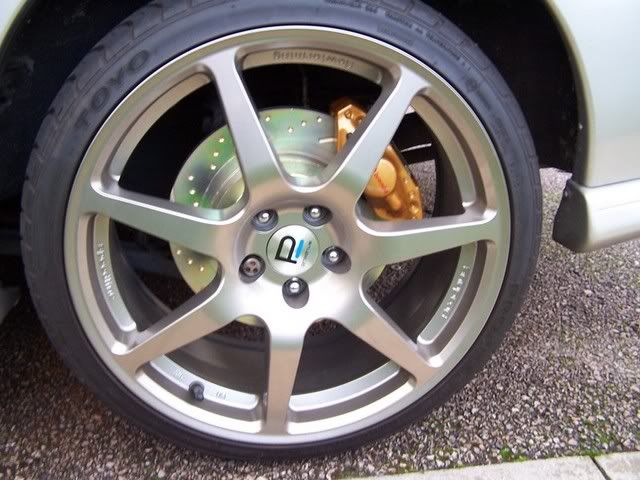
Offside Disk & Caliper Fitted :
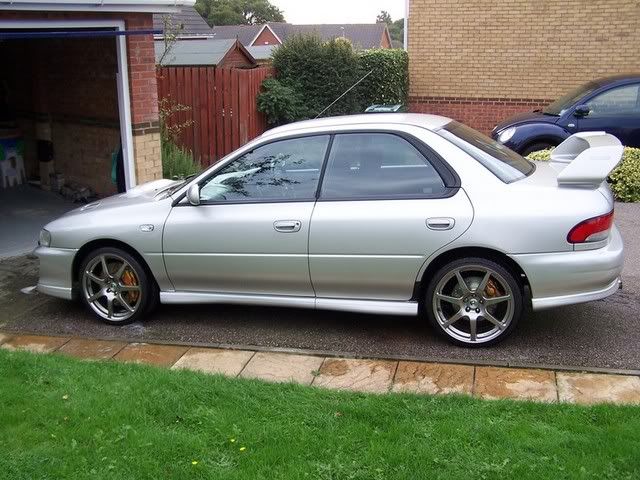
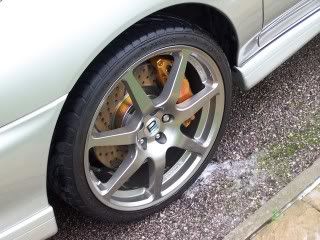
Finished Products :
FRONT
 REAR
REAR
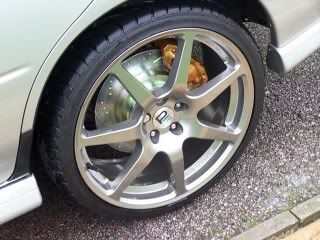 BOTH
BOTH